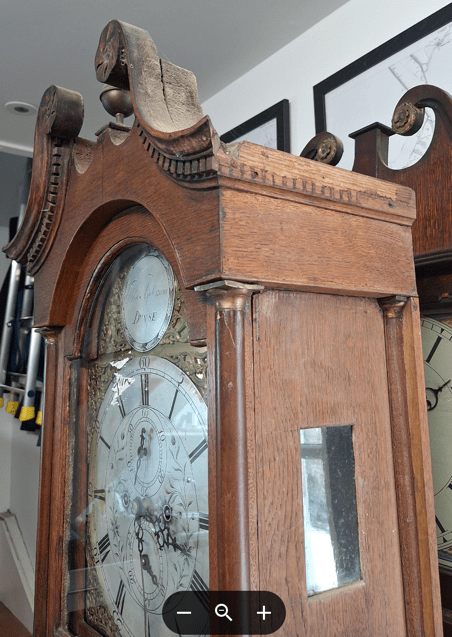
Old clock cases are often cosmetically spoiled by missing mouldings as with this longcase clock by John Anderson of Duns with the missing part from the top side of the hood:
I’m sure it got knocked off many years ago and kept in a safe place which has long been forgotten about.
Traditionally this moulding would have been made with a scratch-stock by the case-maker and ideally this tool could be made to make the missing part. I do however have to be realistic here as my woodworking skills are quite basic and my main skills are around clockmaking which is metalwork not woodwork.
It is unrealistic be become a master of every skill required to make or restore a clock and even when this clock was originally made, it wouldn’t have been made entirely by John Anderson of Duns. He is likely to have made significant contributions to the movement, but the case and the dial with its fine engravings will have been made by other experts in their field.
I did however still want to make this moulding myself to a high standard but needed a little help!
For clockmaking tasks, I generally use traditional techniques with basic machine and hand tools, however I must confess to the use of CNC on some areas such as dividing operations for cutting clock wheels for example. If it makes the operation simpler to set up with less errors and material wastage, why wouldn’t you!
Like many people who make and mend stuff, I have a weak point when it comes to purchasing a new toy by justifying that it’s the right tool for the job. A few months ago, I was swayed by the potential of a CNC engraving / routing machine and have this machine taking up quite a lot of space. However, it has not seen a lot of use; just a little custom metal engraving.
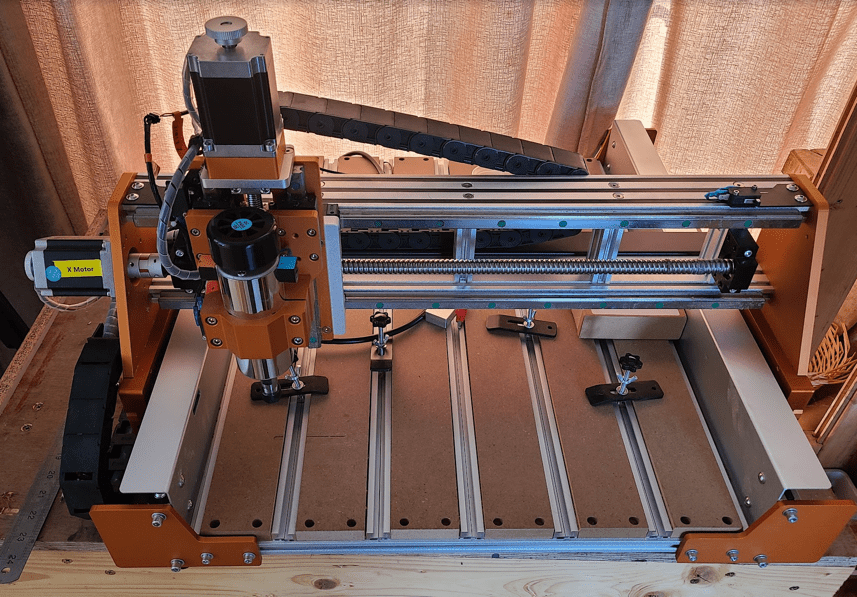
The machine is a FoxAlien Vasto and has a 400mm x 400mm bed so more than capable of cutting my missing wooden moulding. As a tool hoarder it is quite satisfying pondering how you can make something only to discover that you’ve got almost the perfect tool for the job.
Process for making the missing part
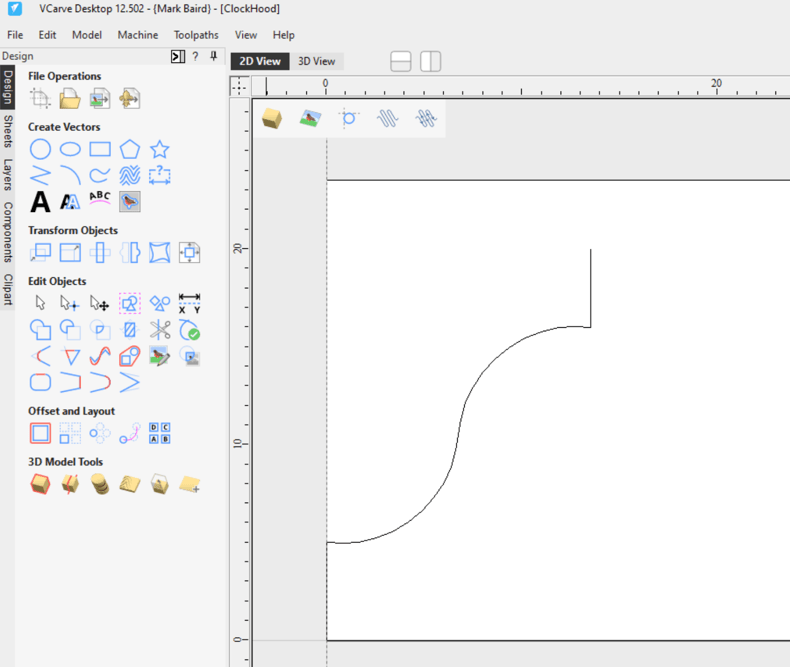
Carefully measure and draw the cross section of the moulding. I use vCarve which is a software package for making designs which can be machined on a CNC machine.
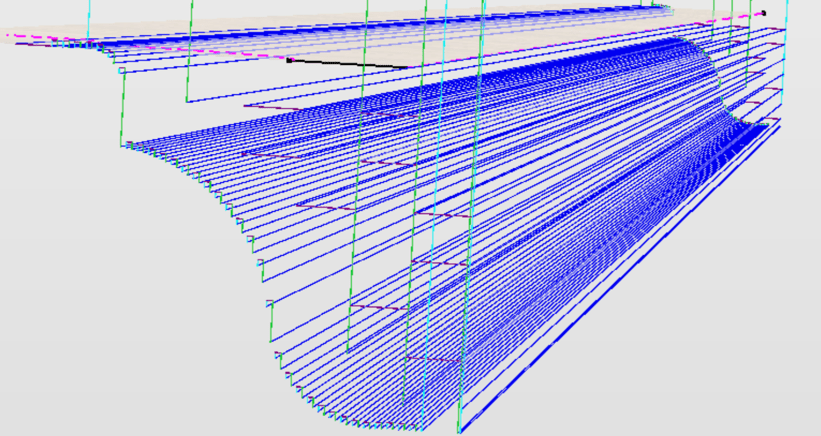
With the cross section defined, you use this with a drive rail which will allow you to visualise the final output.
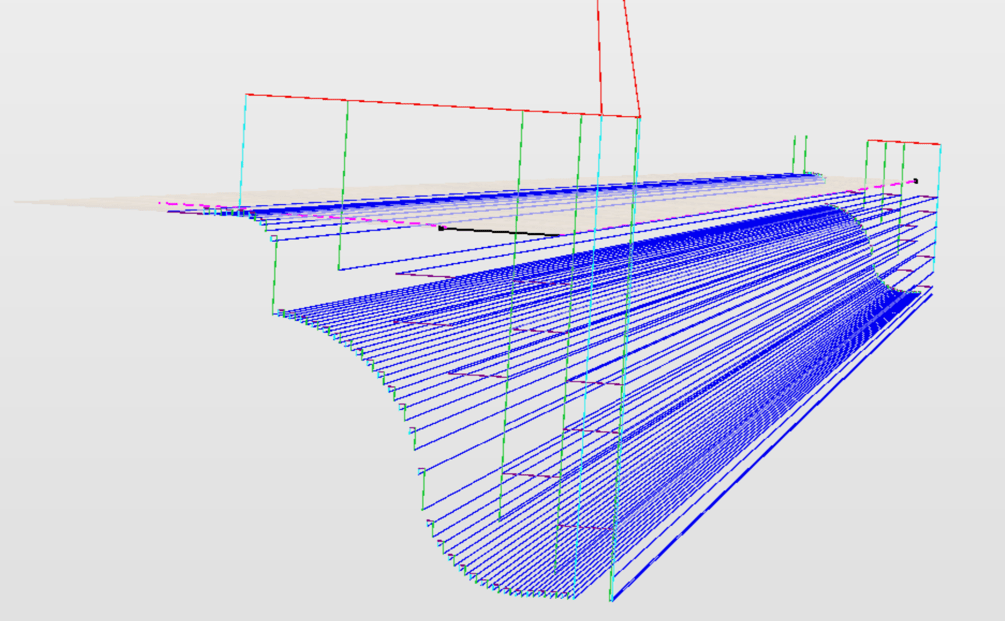
Once you are happy with the design, this can be turned into toolpaths for running on the CNC machine. You end up with a toolpath for each cutting tool you use for routing the final profile. In my case this was:
- 6mm endmill for roughing out the profile and straight edges.
- 3mm bull nose cutter
The toolpaths are control programs for driving the CNC machine which are called G-code.
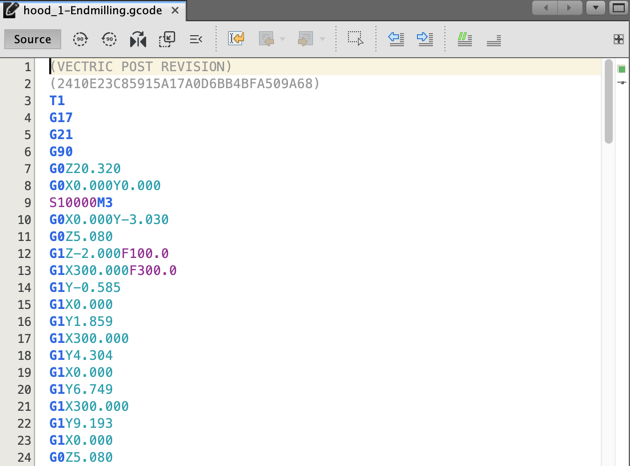
The toolpaths can then be transferred over to a program which communicates with the CNC machine and sends the G-code instructions for cutting the wood. I’m using UGS (Universal G-code Sender).
The following photographs show the progress with the first toolpath which is roughing out the profile with the endmill:

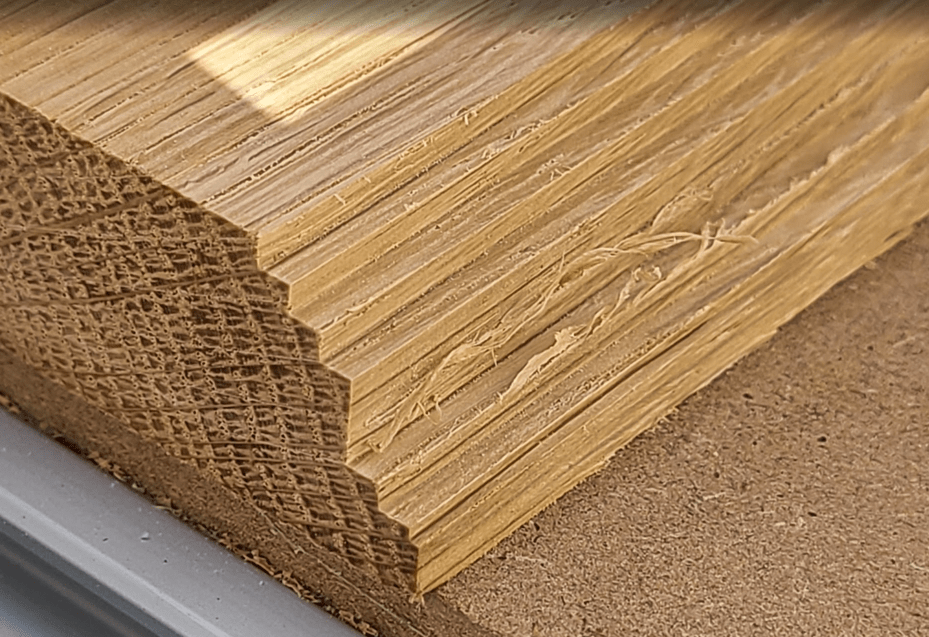
Once the endmill toolpath is complete, the cutter can be changed on the CNC machine to complete the final cuts with the bullnose cutter.


I set the machine to make light cuts as oak is quite hard and I didn’t want to break the cutters part way though the milling process. The milling process did however take about 90minutes to complete.
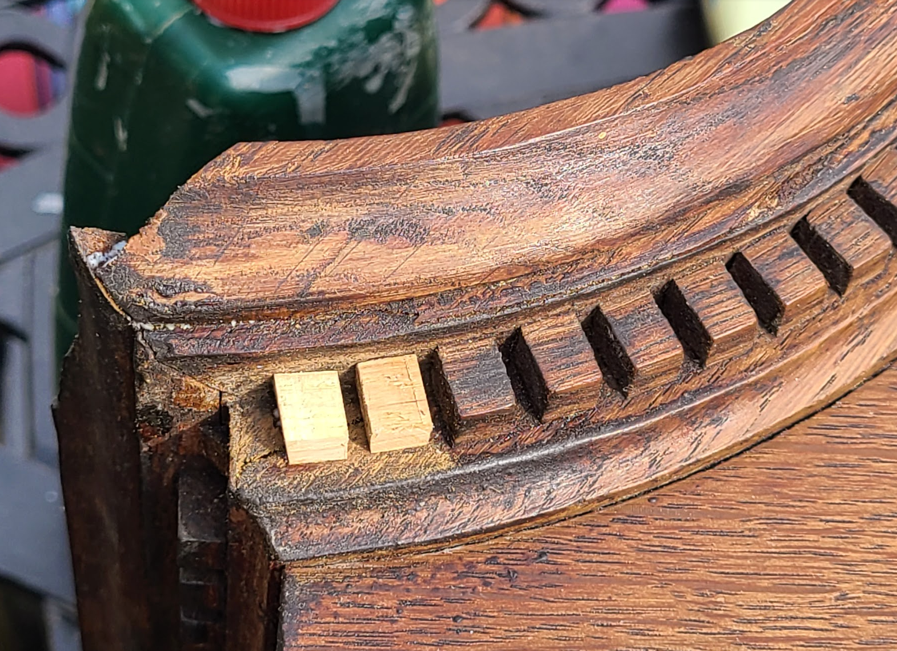
After cutting to size and colouring with a wood dye to match the rest of the case, this is what we have:

To finish the job to make it look original, I ended up using hand tools to replace all those fiddly bits which were missing from around the top of the hood:
This is the result after French polishing the case:

Overall, I’m very pleased with the result. Unless you inspect it very closely, you can’t tell it is a replacement part and fixes the horrible cosmetic issue with the case I started with.
