
It is fairly common when working on antique clocks to find a missing screw. I’ve been working on a high end longcase clock movement recently where a previous repairer had replaced a missing screw with a machine screw. It looked terrible and didn’t even have the same thread! Fortunately in this case the original tapped hole was not damaged as the offending machine screw was too small. No damage had been done!
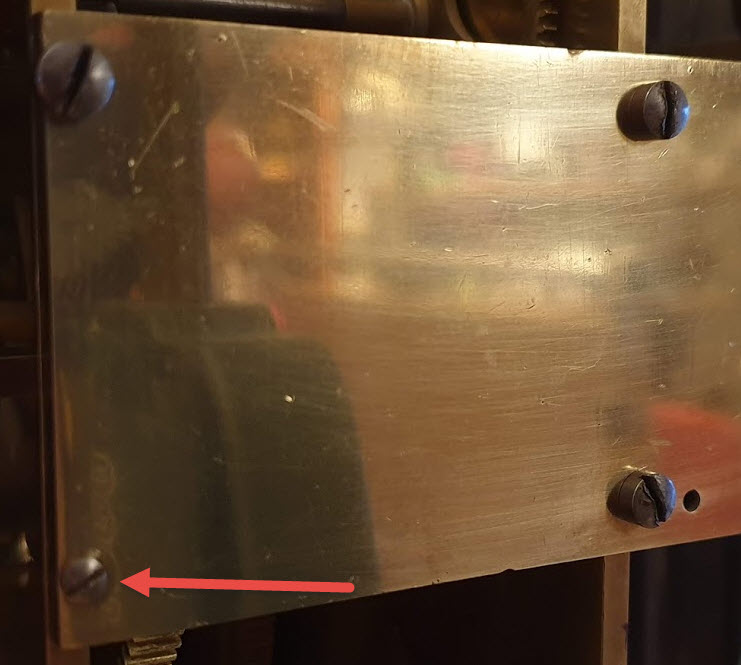
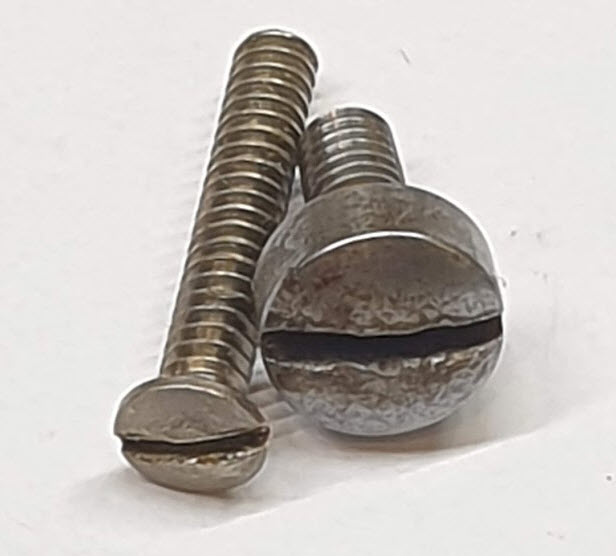
This picture shows the “replacement” screw on the left alongside an original.
Before there was a good awareness of conservation of antiques a common practice of replacing a screw was to drill the hole out one size up, re-tap and simply fit a convenient machine screw. Whilst perfectly functional, this is now considered very poor conservation and the correct path is to make a replacement screw which matches the original as closely as possible. This blog post takes you through the steps of hand making a screw in pretty much the same way as it would have been 100+ years ago.
Threads
Threads are a pretty old invention. It is thought they were invented around 400BC by Archytas of Tarenturn who was an ancient Greek Philosopher and friend of Plato. Given how long they have been around I find it surprising that it wasn’t until comparatively recently that standards for their dimensions were defined. Prior to around 1840 there was no such things as a standard thread and every clockmaker, blacksmith and factory used different thread sizes and pitches. There was simple no interchangeability! Consequentially replacing very old screws can require a little resourcefulness when cutting non-standard threads!
Fortunately the clock I was working on was only about 100 years old so the missing screw was quickly identified having a 6BA thread. I was able to measure this with an existing screw, but if you are faced with a hole with an unknown thread, it is best to screw in a piece of soft wood into the hole to get an imprint of the thread.
Turning from a blank
Once you’ve identified you thread which if you are luck can be cut using a standard die, you are ready to turn your screw up from a bar. I usually use EN8 steel which is a high carbon steel. This allows it to be heat treated (hardened and tempered). EN8 is also a good steel if you require a blued finish to match existing parts of the clock. Silver steel is also good for screws, but it is harder to get a good blued finish so I tend to avoid it.
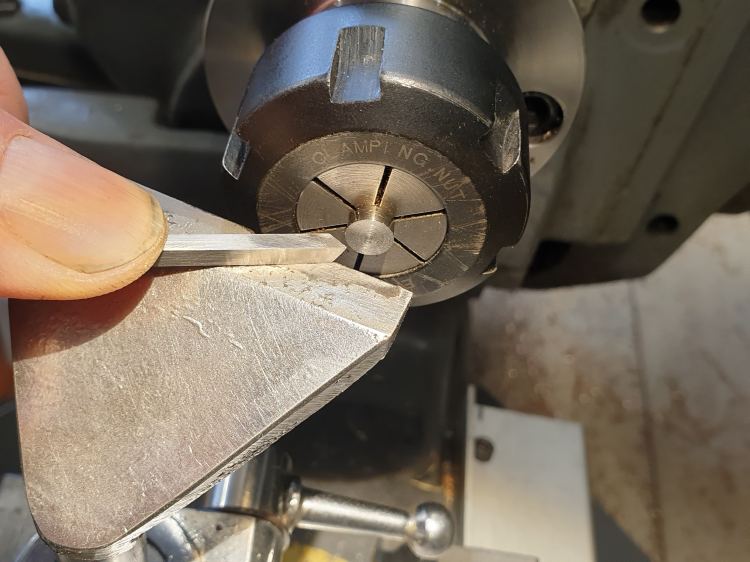
With the bar mounted in a collet on the lathe, you can face the end and start to cut the part of the screw which will eventually be threaded.
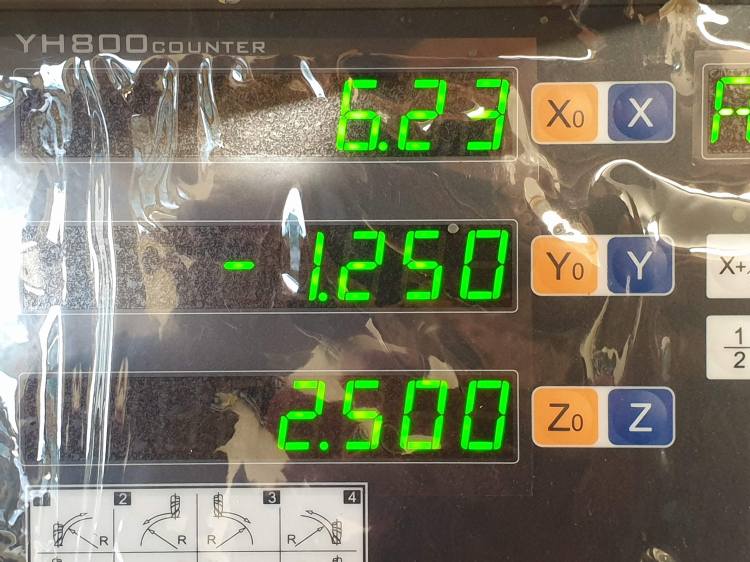
I’ve recently taken the plunge and fitted a DRO to my lathe which is a complete game changer in many ways. It really speeds up the process of cutting blanks to size with very little stopping, measuring, cutting, stopping, measuring, cutting… yes you can measure with the hand wheels, but its so much easier with a DRO!
With the blank cut to size a slight taper is needed on the end of the blank to help getting the die cutter started.
Before cutting using a die, you will preserve your tools and make a cleaner cut if you apply some thread cutting oil.

Then its a case of squaring up your die against the tailstock to ensure that you cut the thread squarely. You can also get tailstock die holders which make this process easier, but I’ve not got one… yet!
Once cut as close to the shoulder you can, clean up and polish the thread with metal polish.

Once you are happy with the finish of the thread and the side of the screw head, you can part off the screw and mount the thread end in a collet for making the head.
Cutting the screw head
The screw I was replacing didn’t have a square head, but was slightly rounded on the top. Having used the cross slide to cut the head square, I mounted a T-rest on the lathe and used a graver to shape the rounded screw head profile. I ended up moving the T-rest closer to the screw before cutting.
This is the end result after initial polishing.

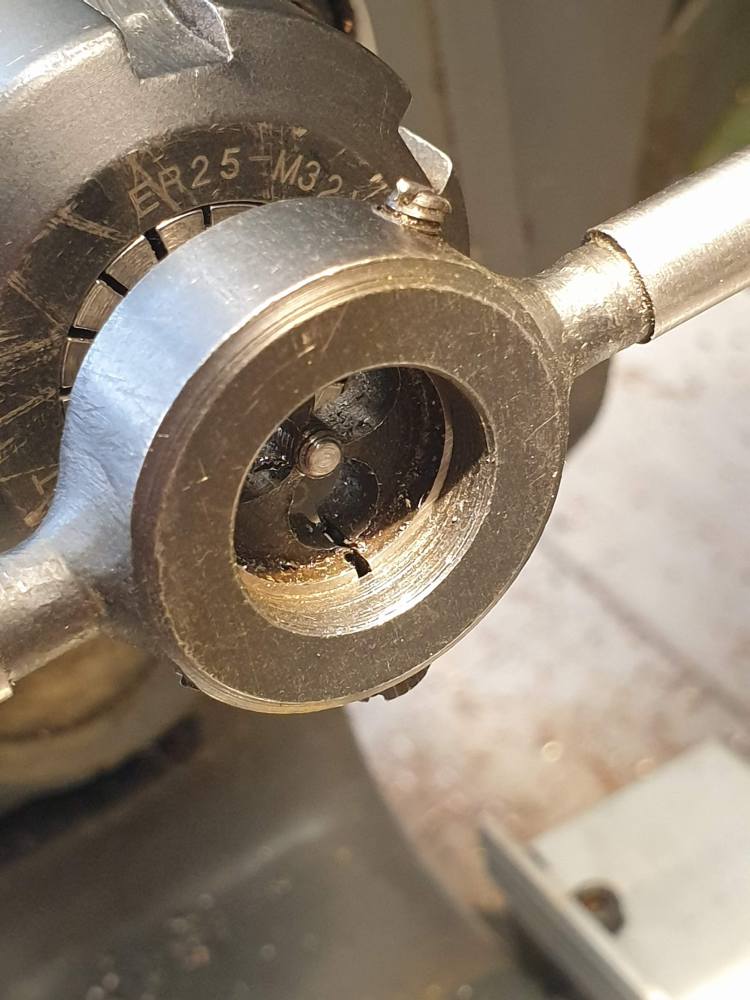
The next stage is to cut a slot in the screw. There are a couple of approaches to this which can be followed. You can either use a screw head slitting file, or you can use a circular cutter. I decided that the best match for the screw I was making would be achieved with a circular cutter.
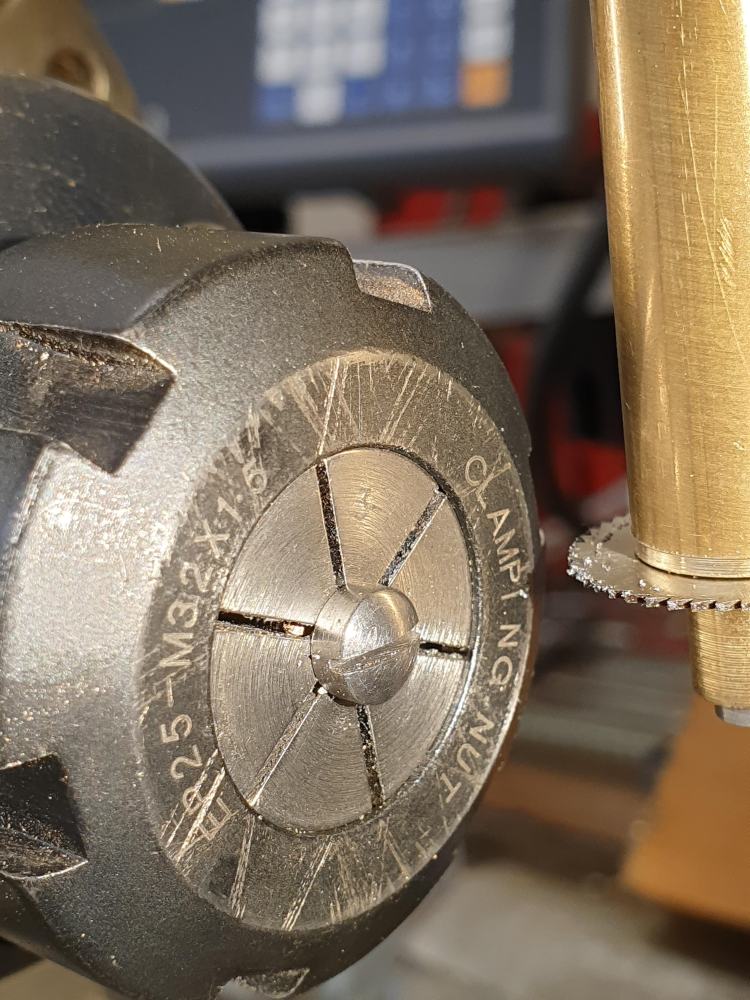
The collet chuck was removed from the lathe and mounted on a dividing head which was attached to a milling machine. A centred circular cutter could then be used for cutting the head with the help of some cutting oil. Picture showing start of cutting operation.

And then after some cutting you will have an almost compete screw head.
Heat treatment
Although the machining operations for making the screw are complete, in its current annealed state, the metal isn’t going to be very robust. It needs to be hardened and tempered before it can be used.
Heat treatment of the screw isn’t going to be kind to your nicely finished surface so it needs to be protected from oxidisation which will leave a nasty scale on the screw. I just wrap the screw loosely in binding wire and liberally cover it in soap. Once you’ve got it cherry hot the binding wire allows you to easily pick up the screw and dunk it in oil.

The hardened screw can be cleaned up and given a final polish before tempering it. You can then clean it up again leaving a nice bright finish. You can see my screw I made below on the right next to the screw I used as a pattern.

If I was taking this a stage further to blue the screw, I would have put much more effort into the finish of the screw. This is far from a prize winning screw, but it matches the existing screws fairly well which is what I was trying to achieve.
