
Brass is a fantastic metal to work with, it machines, files and cuts easily and it can be polished to a mirror finish for the highest grade of clock making. However, to the uninitiated engineer there is a hidden peril to working with this metal: drilling it!
If you’ve even taken a standard twist drill and advanced it into a brass workpiece as you might do with a piece of steel, you’ll soon discover that the drill bits have tendency to suddenly grab and either snap the drill, or if you were holding the workpiece by hand (not recommended) you end up with the entire workpiece spinning around on the end of the drill bit. The result is either an annoying broken end of drill stuck in your finely machined clock part, or injured fingers, neither of which is desirable.
Drilling very slowing and carefully into your brass component can help matters but there is always of risk of that sudden grab!
The solution is actually very simple, and it involves making a simple modification to the geometry of your drill bit. In fact, in my workshop, I have sets of drills specifically modified for drilling brass to avoid accidents.
When working in brass, any cutting tools should not have any top rake on the cutting edge. This includes lathe cutting tools and of course drill bits.
If we take a close look at a standard twist drill bit you can see that the rake angle is far from the desirable zero; it is however perfect for drilling into steel!

The geometry of this drill bit can easily be made suitable for brass with a diamond lap or a sharpening stone.
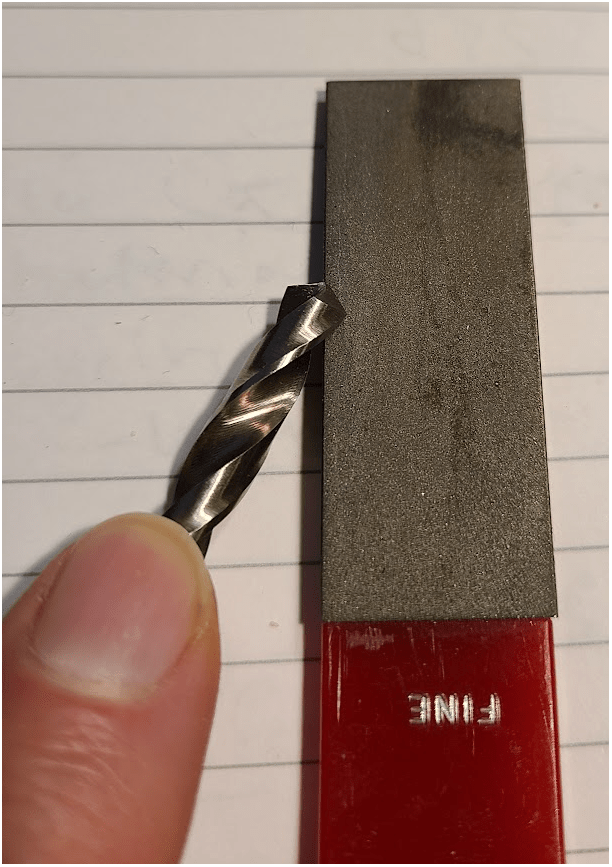
The technique is to rub the flat edge of the drill bit (shown in red in the marked-up picture below) for a few strokes against your diamond lap.

The process will need to be repeated for the other edge of the drill bit, but once complete you will have a much nicer and safer experience drilling into brass.
You’ll be able to tell that you’ve correctly adjusted your drill geometry as you will get brass chips created when you drill into the brass instead of long streams of swarf.
